
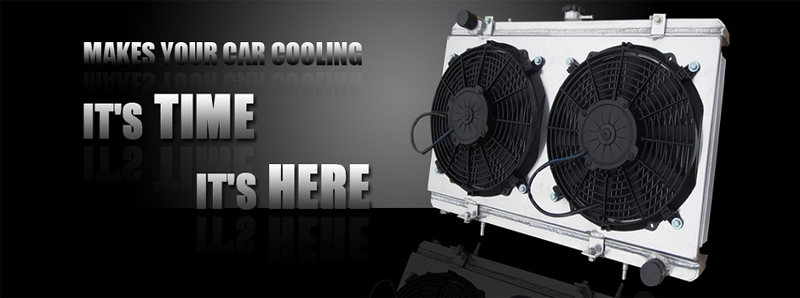
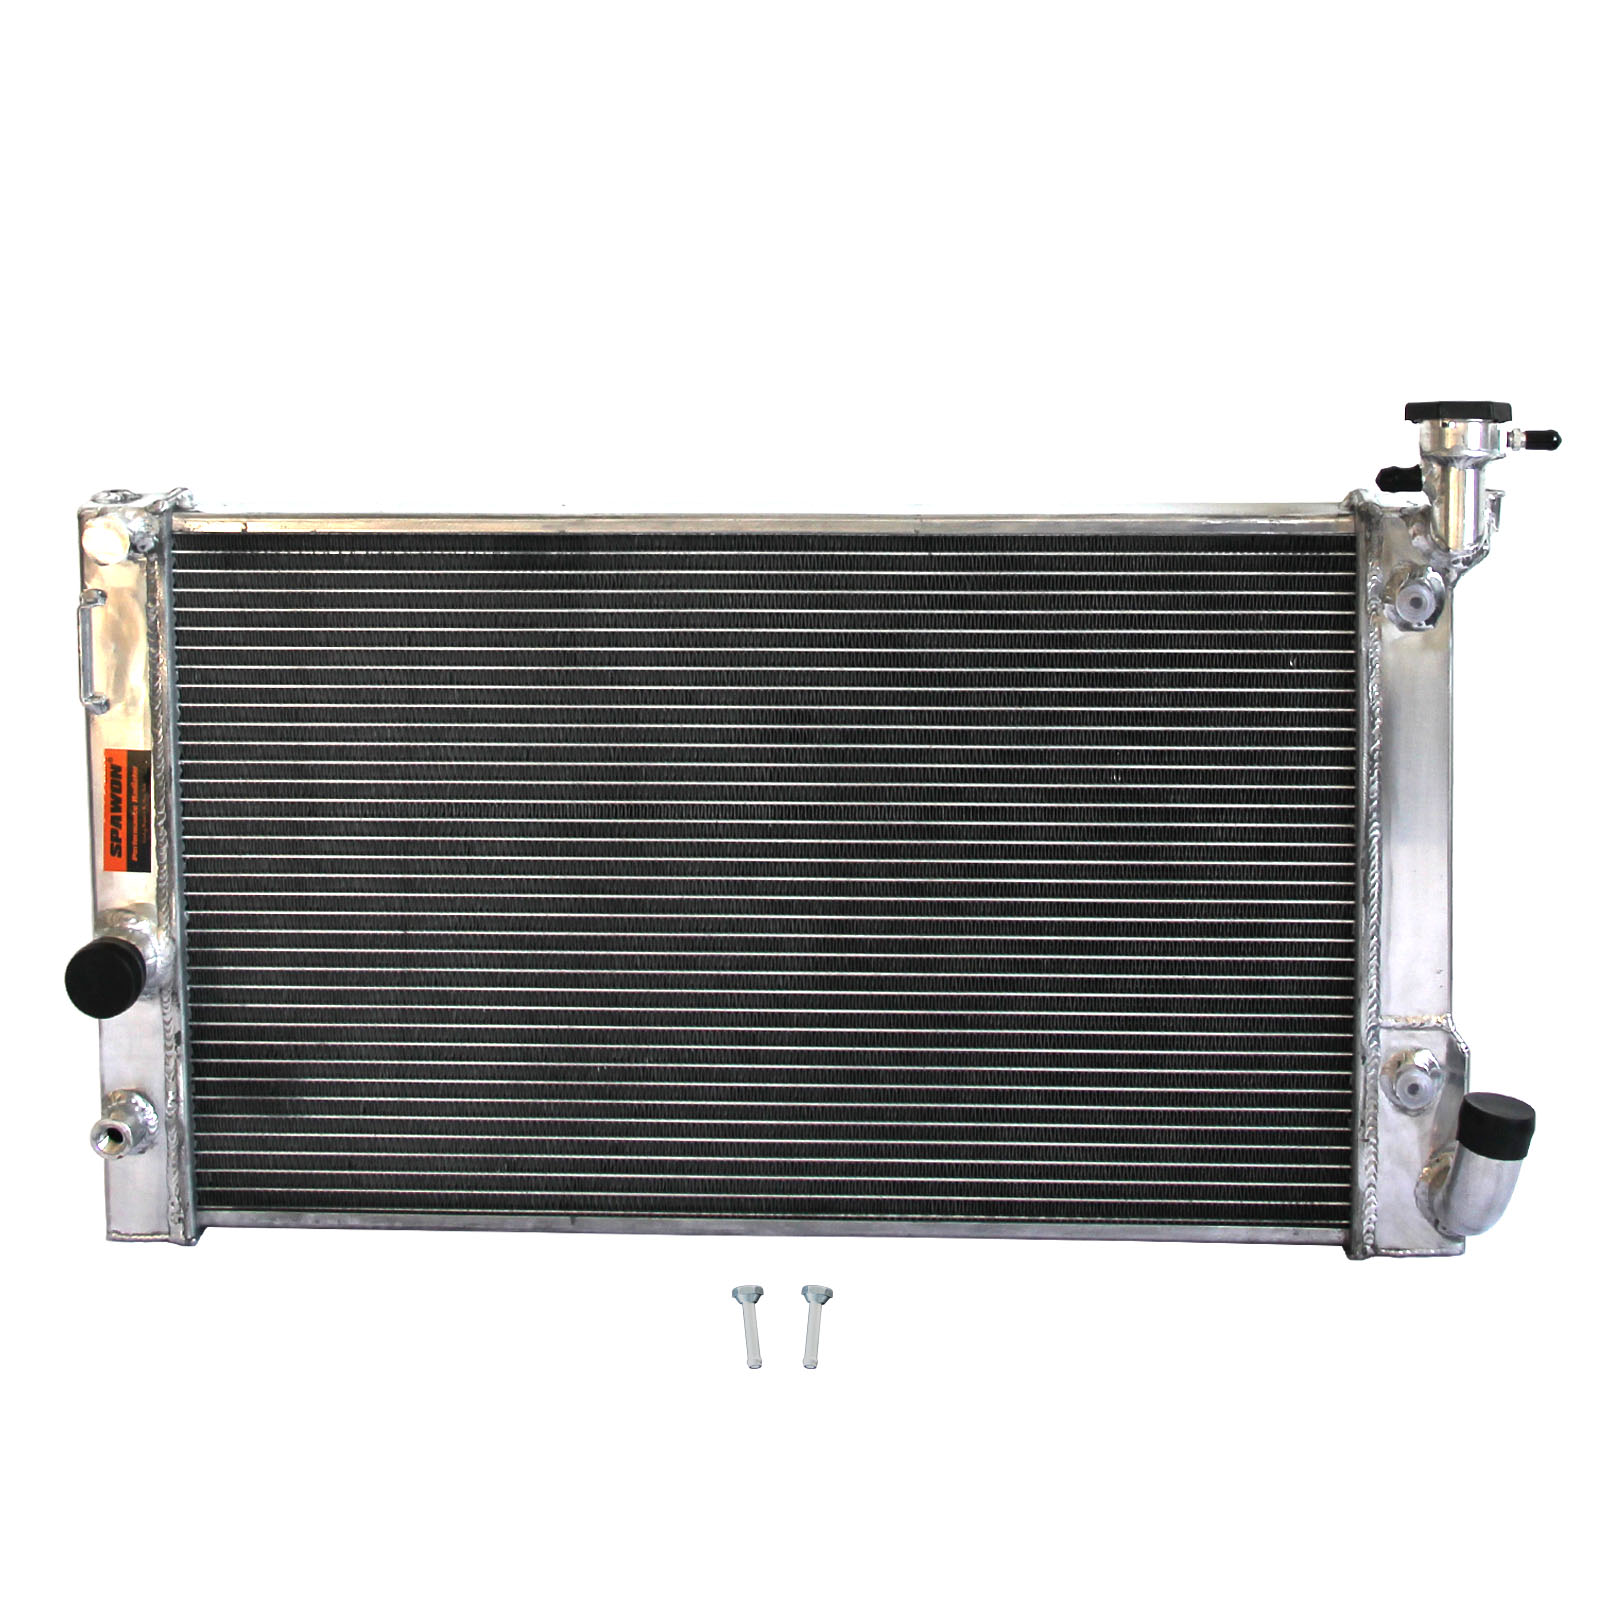
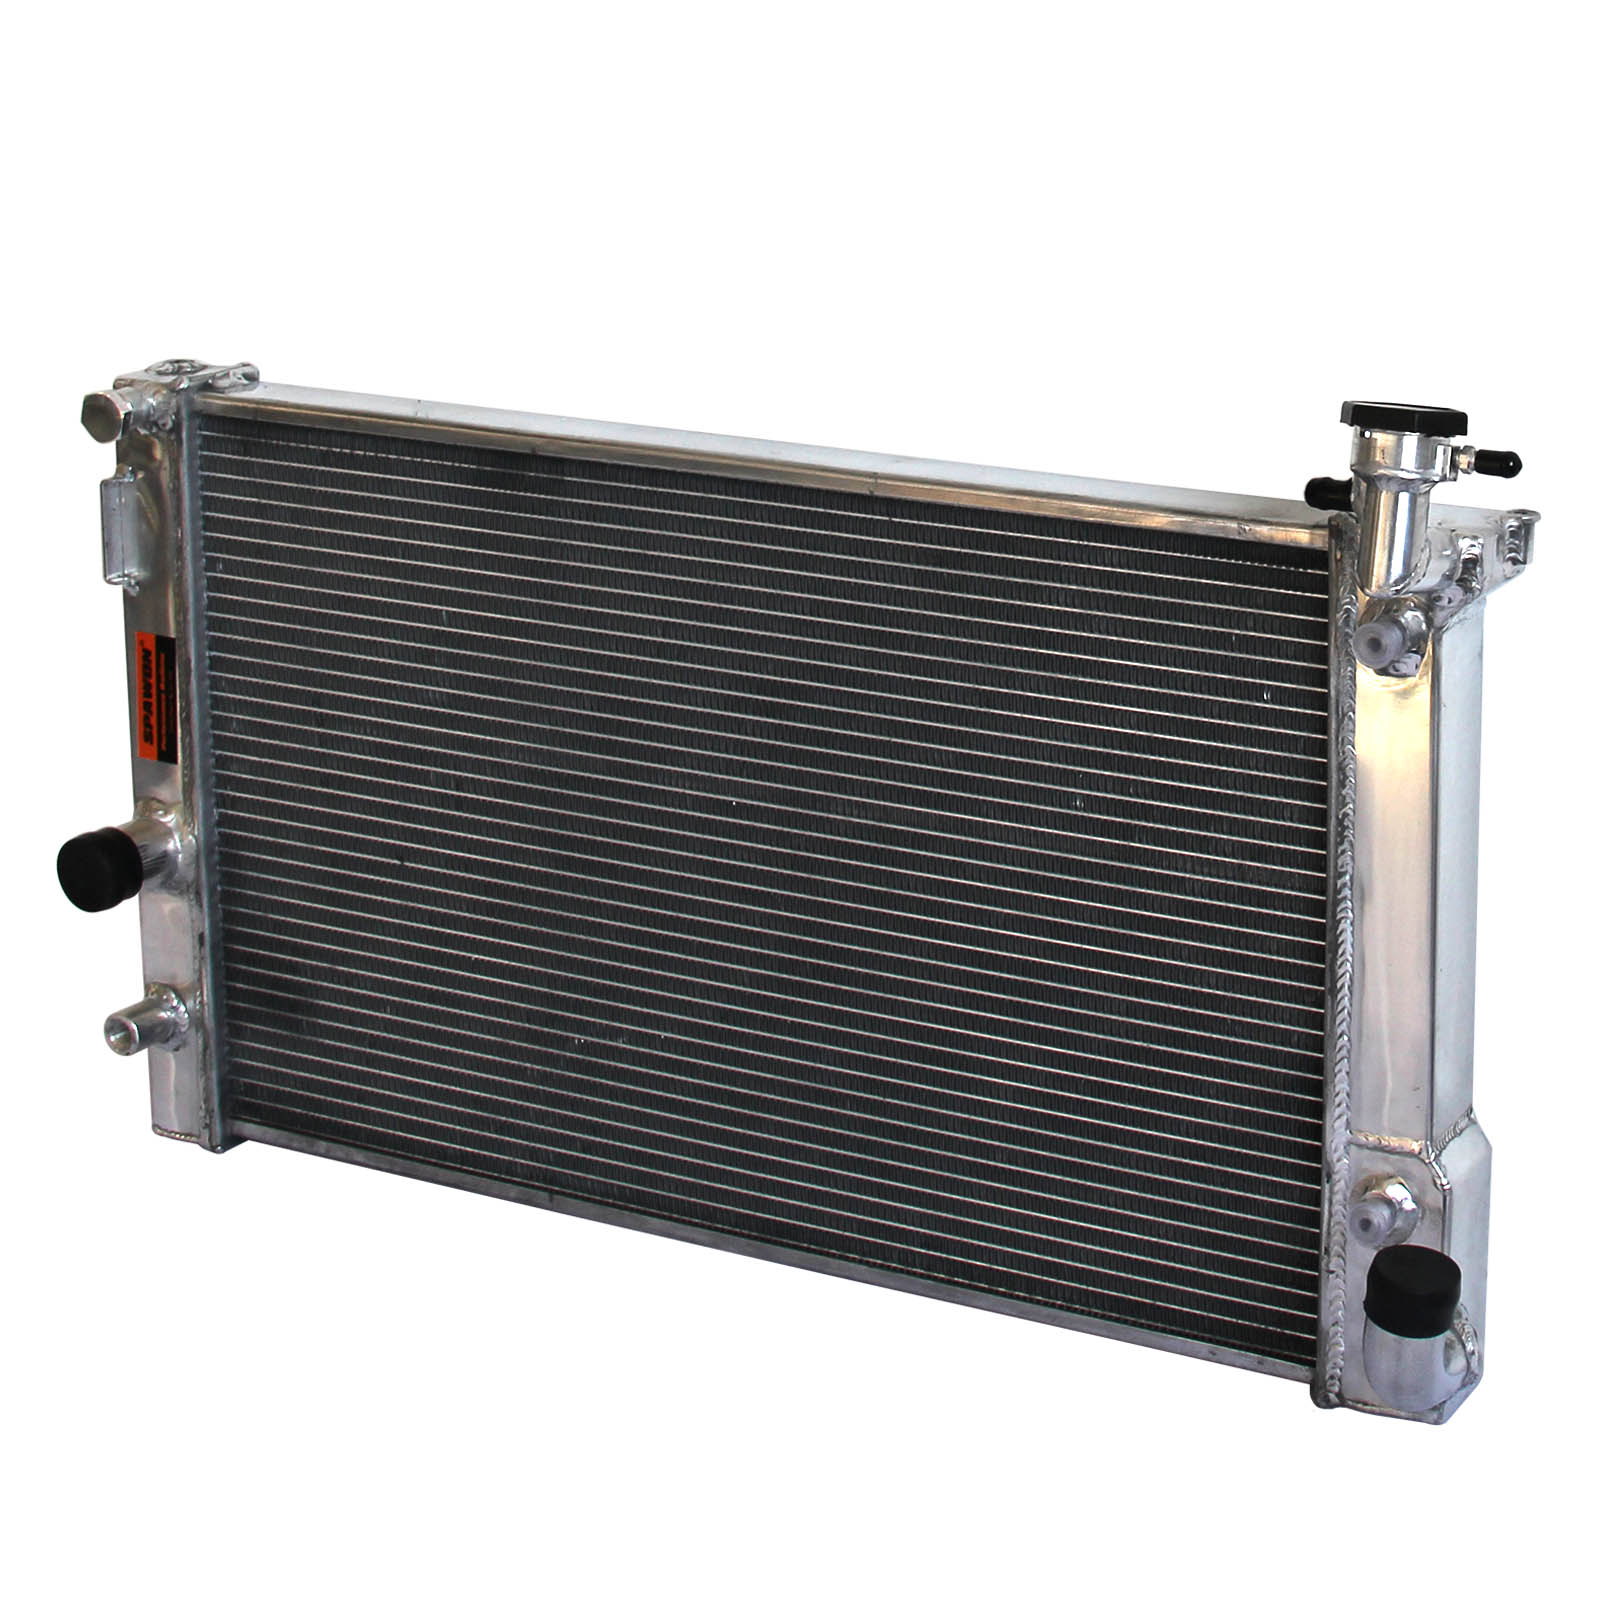
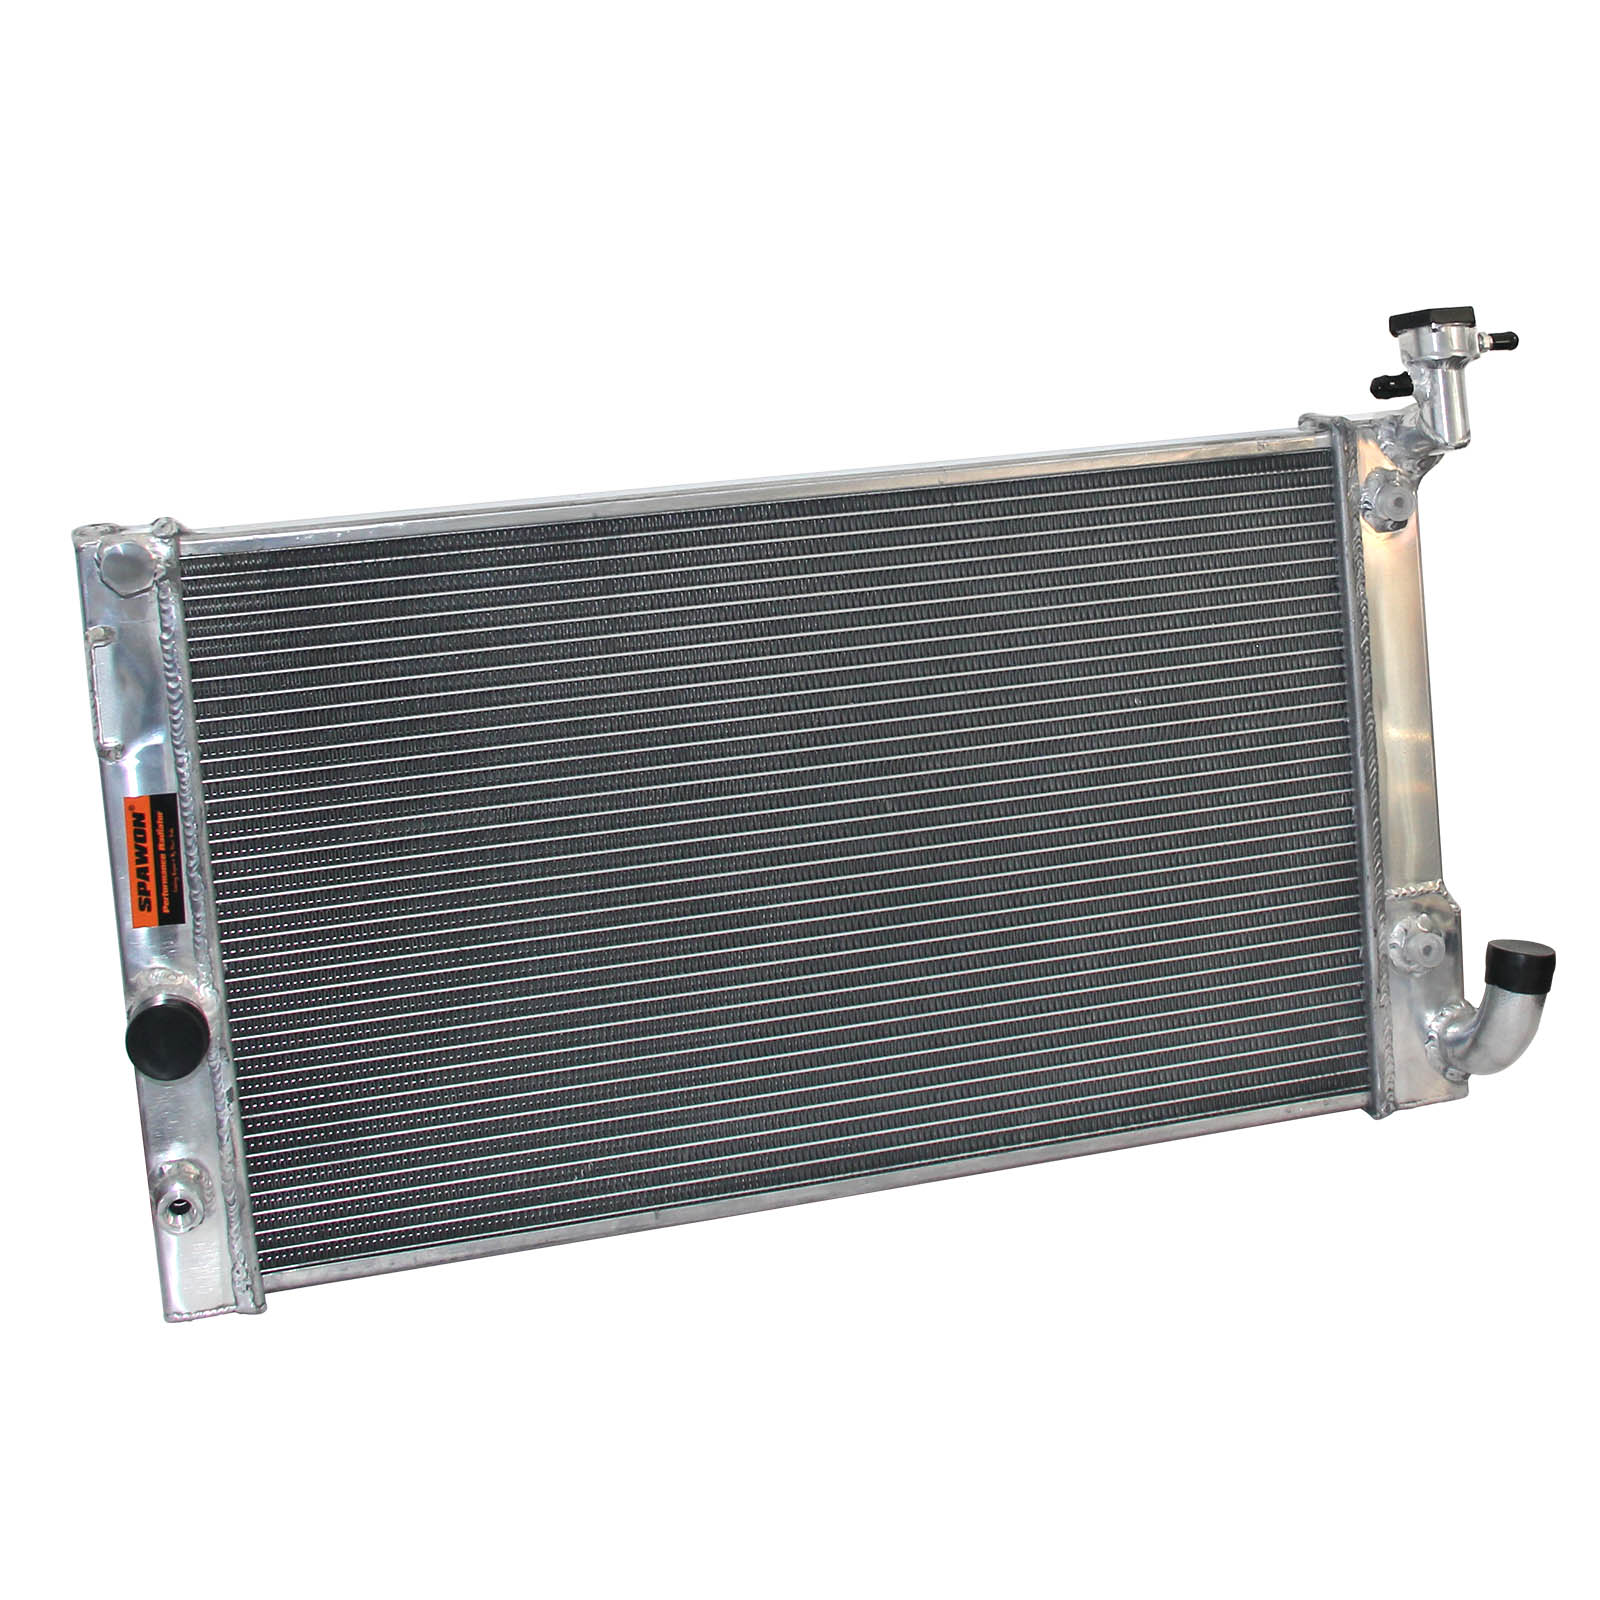

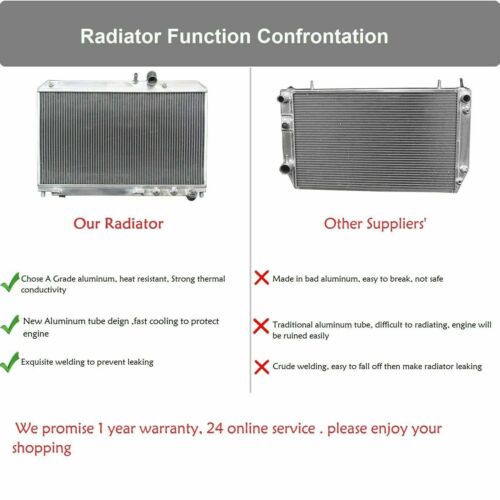
This radiator is heavy duty designed, Cooling capacity is increased about 30% than standard radiator, exceeds OEM.
Aluminum Radiator Specifics
Radiator Size : 14.80’’ (W) * 23.62’’ (H) * 1.34’’ (T)
Inlet Size : 1.34’’
Outlet Size: 1.34’’
Row : 2 Row/Core
Application
Make : Pontiac Toyota
Model :
| Make | Model | Qualifiers | Year |
|---|---|---|---|
| Pontiac | Vibe |
1.8L L4 1798cc 110ci
|
2009-2010 |
| Toyota | Corolla |
1.8L L4 1798cc 110ci
|
2009-2019 |
| Toyota | Corolla |
1.8L L4 1794cc
|
2009 |
| Toyota | Matrix |
1.8L L4 1798cc 110ci
|
2009-2014 |
For Both Manual MT And Automatic AT Vehicle
1. Compare car part with picture on our website
2. Make sure our goods is suitable for your car
3. Compare core size, overall size, inlet outlet size etc
4. Anything unclear, please don’t hesitate to contact our custom service
Warranty: Lifetime
We only accept PayPal payments from verified accounts with confirmed addresses.
Orders will be shipped after receiving cleared payment.
Payment due within 3 days after auction ends and for buy it now listings.
Please kindly note weekends and holidays are not working days.
We only could ship to the address that's stated on your PayPal account as the shipping address unless the correct address was stated on the PayPal notes section. E-mailing us after you have made payment does not count so please update your shipping address on PayPal before making a payment.
International Buyers - Please Note:
Import duties, taxes, and charges are not included in the item price or shipping cost. These charges are the buyer's responsibility.
Please check with your country's customs office to determine what these additional costs will be prior to bidding or buying.
- PR, HI, AK and PO Box addresses shipping rates are the same as CANADA shipping.
- US Territories and Military such as GU, VI, SAIPAN, APO/FPO will be charegd the same as international shipping rate. Transaction will be held until a full shipping amount received.
1.Place new radiator back into the vehicle.
2.Hand- thread transmission and/or engine cooling lines back into the radiator tanks.
Stripping or cross threading coolers, plug or fittings will void manufactures warranty.
3.Tighten all line fittings using hand wrenches. Only torque to manufacturer’s specifications. Do not over
tighten.
4.Reconnect and tighten all radiator hose connections and tighten drain tap securely.
5.Reconnect air conditioning condenser fasteners, fan shroud and electric fan assembly where applicable.
6.Your cooling system was holding used coolant. After the new radiator has been installed your entire
cooling system needs to be flushed with proper flushing chemicals using an approved flush + fill
machine or kit :
Failure to completely flush the system will void the manufacturer’s warranty on the radiator.
7.Filling your system with new radiator coolant :
i) Only use coolant that is recommended by the vehicle manufacturer;
ii) Never mix different types of used or old contaminated coolant;
iii) Always mix coolant 50/50 with distilled or deionised water. Never use tap water.
iv) Pre-mixed solutions may be used in some cases. Refer to repair manual for approval and
recommendations.
v) Fill the cooling system to the required level as outlined in the repair manual. In some cases the
vehicle must be raised during the filing process to allow for the fill point to be above the heater core
for proper purging during the filling process.
Important, some vehicles are equipped with bleeder valves to remove any air bubbles in the
cooling system. Usually located near the thermostat housing, the valve needs to be opened
to bleed the system when starting the vehicle (Step 8). Close the valve when air bubbles
cease. Refer to repair manual.
8.Start the vehicle with your heater control switches inside the vehicle on the ‘High’ heat position.
9.Allow the vehicle to warm-up long enough for the thermostat to open allowing coolant to flow. You will
notice the radiator hose will become warm to hot.
Caution: Surfaces and hoses become very hot. As the coolant level drops, top off with the
exact same mix used in the filling process. Stop when the coolant level settles to just below
the radiator filler neck or fill line. Use a new radiator cap as specified for your vehicle. Refer to
repair manual for the proper radiator cap specifications. Fill the coolant recovery bottle located
inside the engine compartment to the required level again with the exact same mix of coolant
used in the filling and purging process.
10.While engine is running check all fittings hoses and lines for any leaks.
11.After driving your vehicle for a few miles after the installation allow the vehicle to completely cool
down. Top off the systems to the full mark again and make sure the same type and mixture of coolant is
used.
12.Annual cooling system maintenance is required to insure proper cooling system operation.
1.ELECTROLYSIS: Electrolysis is caused by inadequate ph level in the system or bad electrical accessory grounds.
2.CONTAMINATION AND ADDITIVES: Contamination and additives can clog passages and reduce overall heat transfer.Pure coolant liquid or mixing different types of liquids will also cause sludging in the system. Only use a 50/50 mix of water and coolant liquid.
3.INADEQUATE Ph LEVEL: Inadequate ph level of the cooling liquid causes inner tube blooming that restricts flow and increases engine temperature. Prevent these conditions with proper cooling system maintenance.
4.PRESSURE CAP:The pressure cap maintains constant system pressure to prevent cooling liquid from boiling. Coolant needs to be circulated from the overflow reservoir to prevent air from entering the system. The cap must be inspected on a regular basis.
5.MAINTENANCE :Regular maintenance requires that the thermostat be replaced each time the coolant is flushed or during radiator replacement. Install the proper temperature
range thermostat for maximum engine performance and fuel efficiency.
6. EXCESSIVE EXTERNAL WEAR:Radiator excessive external wear is mostly caused by aging or road debris.Deteriorating or damaged cooling fins will reduce overall heat transfer.
Replacement is necessary with complete system testing.
We stock around 3500 different models of radiators and racing parts,We have over 4000 square meters ware house in Australian, HK, USA and UK, our sales teams have professional knowledge of automotive parts, so our service is second to none. We will go out of our way to get you what you need on time, with the best quality and at best,If you are a do-it-yourselfer customer, our products will be offered everywhere you shop.Thank you for your intersest in our products and also for your continued support price.
We have no fancy words and pictures,but a compeletly honest heart,Wholesales are welcome to consult, and fautless
after-sale service and the most resonable price are promised.
We always reply eBay messages that are sent to us with an inquiry, usually within 24 hours of receipt or sooner. We will answer all eBay messages during our business hours. (Monday - Friday 9:00 am to 6:00 pm HKT except all Holidays)
Please do not leave any low detailed seller ratings, neutral or negative feedback before contacting us.We commit you 100% satisfaction guarantee.
High Quality Makes Your Car Cool
We aim to offer cooling car parts with similar or better cooling qualities in comparison to OEM replacements. All of the materials in our products come from the best sources, for example the O-ring of radiator from places such as Europe, Thailand and China. These countries are renowned for manufacturing some of the best rubber. In addition to our full alloy race radiators designed to cool up to 65% better than an OEM standard radiator. These race radiators are manufactured with much thicker cores for better flow and cooling as well as having alloy tanks for premium strength and polished for aesthetics.
Copyright©2017 datacaciques
COOLINGMASTER
COOLINGMASTER



This radiator is heavy duty designed, Cooling capacity is increased about 30% than standard radiator, exceeds OEM.
Aluminum Radiator Specifics
Radiator Size : 14.80’’ (W) * 23.62’’ (H) * 1.34’’ (T)
Inlet Size : 1.34’’
Outlet Size: 1.34’’
Row : 2 Row/Core
Application
Make : Pontiac Toyota
Model :
| Make | Model | Qualifiers | Year |
|---|---|---|---|
| Pontiac | Vibe |
1.8L L4 1798cc 110ci
|
2009-2010 |
| Toyota | Corolla |
1.8L L4 1798cc 110ci
|
2009-2019 |
| Toyota | Corolla |
1.8L L4 1794cc
|
2009 |
| Toyota | Matrix |
1.8L L4 1798cc 110ci
|
2009-2014 |
For Both Manual MT And Automatic AT Vehicle
1. Compare car part with picture on our website
2. Make sure our goods is suitable for your car
3. Compare core size, overall size, inlet outlet size etc
4. Anything unclear, please don’t hesitate to contact our custom service
Warranty: Lifetime
We only accept PayPal payments from verified accounts with confirmed addresses.
Orders will be shipped after receiving cleared payment.
Payment due within 3 days after auction ends and for buy it now listings.
Please kindly note weekends and holidays are not working days.
We only could ship to the address that's stated on your PayPal account as the shipping address unless the correct address was stated on the PayPal notes section. E-mailing us after you have made payment does not count so please update your shipping address on PayPal before making a payment.
International Buyers - Please Note:
Import duties, taxes, and charges are not included in the item price or shipping cost. These charges are the buyer's responsibility.
Please check with your country's customs office to determine what these additional costs will be prior to bidding or buying.
- PR, HI, AK and PO Box addresses shipping rates are the same as CANADA shipping.
- US Territories and Military such as GU, VI, SAIPAN, APO/FPO will be charegd the same as international shipping rate. Transaction will be held until a full shipping amount received.
1.Place new radiator back into the vehicle.
2.Hand- thread transmission and/or engine cooling lines back into the radiator tanks.
Stripping or cross threading coolers, plug or fittings will void manufactures warranty.
3.Tighten all line fittings using hand wrenches. Only torque to manufacturer’s specifications. Do not over
tighten.
4.Reconnect and tighten all radiator hose connections and tighten drain tap securely.
5.Reconnect air conditioning condenser fasteners, fan shroud and electric fan assembly where applicable.
6.Your cooling system was holding used coolant. After the new radiator has been installed your entire
cooling system needs to be flushed with proper flushing chemicals using an approved flush + fill
machine or kit :
Failure to completely flush the system will void the manufacturer’s warranty on the radiator.
7.Filling your system with new radiator coolant :
i) Only use coolant that is recommended by the vehicle manufacturer;
ii) Never mix different types of used or old contaminated coolant;
iii) Always mix coolant 50/50 with distilled or deionised water. Never use tap water.
iv) Pre-mixed solutions may be used in some cases. Refer to repair manual for approval and
recommendations.
v) Fill the cooling system to the required level as outlined in the repair manual. In some cases the
vehicle must be raised during the filing process to allow for the fill point to be above the heater core
for proper purging during the filling process.
Important, some vehicles are equipped with bleeder valves to remove any air bubbles in the
cooling system. Usually located near the thermostat housing, the valve needs to be opened
to bleed the system when starting the vehicle (Step 8). Close the valve when air bubbles
cease. Refer to repair manual.
8.Start the vehicle with your heater control switches inside the vehicle on the ‘High’ heat position.
9.Allow the vehicle to warm-up long enough for the thermostat to open allowing coolant to flow. You will
notice the radiator hose will become warm to hot.
Caution: Surfaces and hoses become very hot. As the coolant level drops, top off with the
exact same mix used in the filling process. Stop when the coolant level settles to just below
the radiator filler neck or fill line. Use a new radiator cap as specified for your vehicle. Refer to
repair manual for the proper radiator cap specifications. Fill the coolant recovery bottle located
inside the engine compartment to the required level again with the exact same mix of coolant
used in the filling and purging process.
10.While engine is running check all fittings hoses and lines for any leaks.
11.After driving your vehicle for a few miles after the installation allow the vehicle to completely cool
down. Top off the systems to the full mark again and make sure the same type and mixture of coolant is
used.
12.Annual cooling system maintenance is required to insure proper cooling system operation.
1.ELECTROLYSIS: Electrolysis is caused by inadequate ph level in the system or bad electrical accessory grounds.
2.CONTAMINATION AND ADDITIVES: Contamination and additives can clog passages and reduce overall heat transfer.Pure coolant liquid or mixing different types of liquids will also cause sludging in the system. Only use a 50/50 mix of water and coolant liquid.
3.INADEQUATE Ph LEVEL: Inadequate ph level of the cooling liquid causes inner tube blooming that restricts flow and increases engine temperature. Prevent these conditions with proper cooling system maintenance.
4.PRESSURE CAP:The pressure cap maintains constant system pressure to prevent cooling liquid from boiling. Coolant needs to be circulated from the overflow reservoir to prevent air from entering the system. The cap must be inspected on a regular basis.
5.MAINTENANCE :Regular maintenance requires that the thermostat be replaced each time the coolant is flushed or during radiator replacement. Install the proper temperature
range thermostat for maximum engine performance and fuel efficiency.
6. EXCESSIVE EXTERNAL WEAR:Radiator excessive external wear is mostly caused by aging or road debris.Deteriorating or damaged cooling fins will reduce overall heat transfer.
Replacement is necessary with complete system testing.
We stock around 3500 different models of radiators and racing parts,We have over 4000 square meters ware house in Australian, HK, USA and UK, our sales teams have professional knowledge of automotive parts, so our service is second to none. We will go out of our way to get you what you need on time, with the best quality and at best,If you are a do-it-yourselfer customer, our products will be offered everywhere you shop.Thank you for your intersest in our products and also for your continued support price.
We have no fancy words and pictures,but a compeletly honest heart,Wholesales are welcome to consult, and fautless
after-sale service and the most resonable price are promised.
We always reply eBay messages that are sent to us with an inquiry, usually within 24 hours of receipt or sooner. We will answer all eBay messages during our business hours. (Monday - Friday 9:00 am to 6:00 pm HKT except all Holidays)
Please do not leave any low detailed seller ratings, neutral or negative feedback before contacting us.We commit you 100% satisfaction guarantee.
High Quality Makes Your Car Cool
We aim to offer cooling car parts with similar or better cooling qualities in comparison to OEM replacements. All of the materials in our products come from the best sources, for example the O-ring of radiator from places such as Europe, Thailand and China. These countries are renowned for manufacturing some of the best rubber. In addition to our full alloy race radiators designed to cool up to 65% better than an OEM standard radiator. These race radiators are manufactured with much thicker cores for better flow and cooling as well as having alloy tanks for premium strength and polished for aesthetics.
Copyright©2017 datacaciques
COOLINGMASTER